
Want to learn the 7 EASY PEASY steps to create seamless repeating patterns in Adobe Illustrator? We’ve got you covered.
If you’re more of a visual learner, you can check out this video tutorial we created here, or simply read on and follow along below.
How to setup a pattern repeat in Adobe Illustrator
Step 1 – Setup your artboard
Open Adobe Illustrator and setup your artboard to a size that works for you.
For the sake of this tutorial, we’ve chosen a nice square at 1000mm x 1000mm.
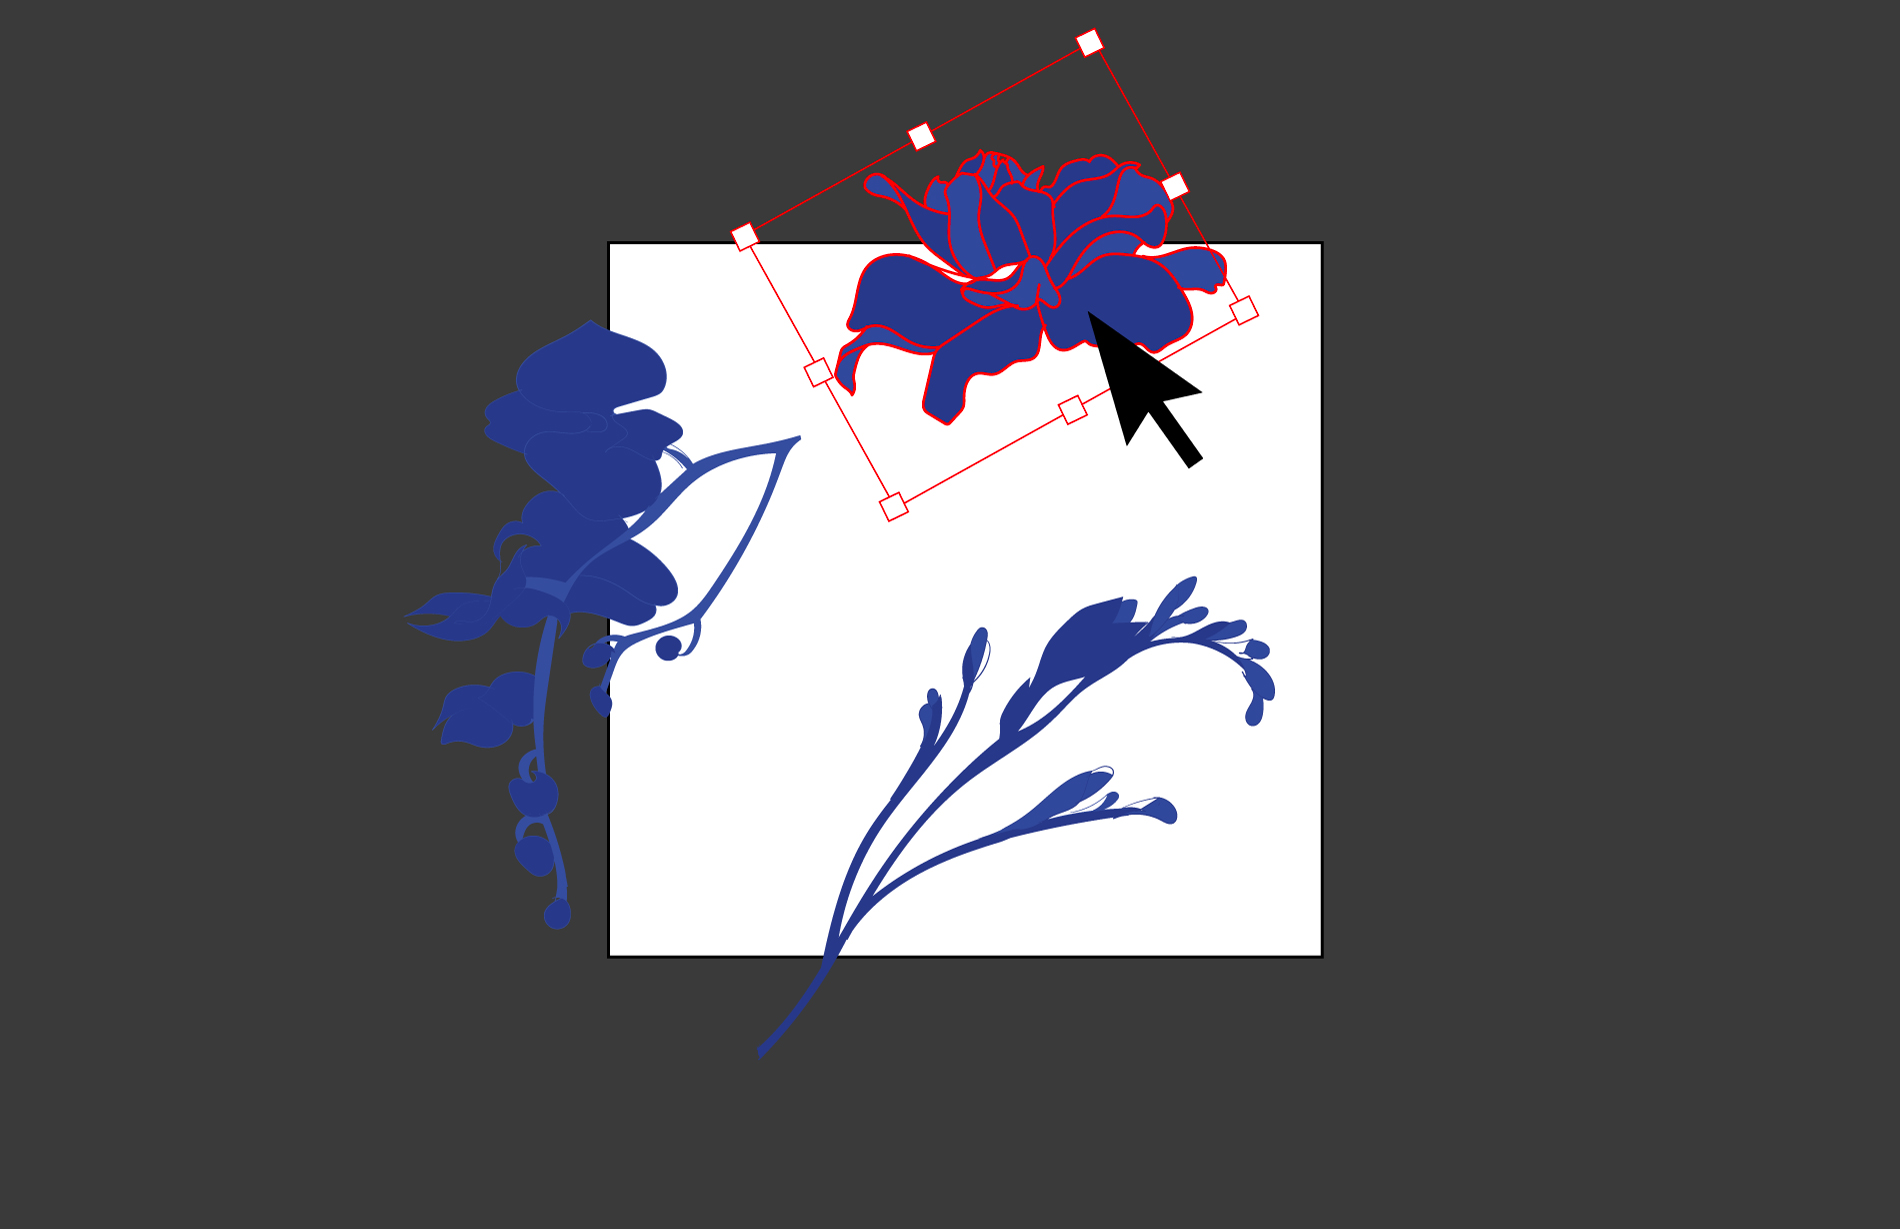
Step 2 – Create or import your motifs
Get creative by drawing motifs using the Pen tool, Pencil tool, Shapes, or the Blob Brush tool. Create a separate layer for each motif to keep things organised.
OR, to make things easier, here’s a FREE download of the awesome flowers we’ve already created here.
Add them all to your artboard.
Step 3 – Launch the pattern maker tool
You can do this simply by first selecting all of your motifs.
Then click Object > Pattern > Make.
Step 4 – Set your repeat options
Now you have a dialog box pop up with options for your pattern repeat.
In the dialog box, set up your desired repeat size in the width and height boxes (e.g., 1000mm x 1000mm) – this way it matches your artboard size and keeps the visual nice and easy to follow.
Then, choose the repeat type you like. Hexagonal repeat is pretty cool! Click through each of them to get a feel for what they do. For this tutorial we’ve picked Grid.
Adjust the Copies setting to visualise the pattern repeat. A good setting is 3 x 3 as this allows you to see your new repeat on all sides, providing an overview of how your pattern will look on a larger scale

Step 5 – Play around with the motifs
Move your motifs around the artboard to see the replication at the top, bottom and both sides in real-time just like the below image:
Step 6 – Save your creative goods
Finally, double-click anywhere else on the screen to finish and close the pattern maker tool.
Your pattern will then be saved in the Swatch library on the right side of your screen.
If you can’t see swatches, click on Window > Swatches.
Step 7 – Your pattern is ready!
Select your swatch from the Swatch library, then use the rectangle tool to create a shape with your repeated design.
Viola!
By following these steps, you can easily set up a pattern repeat in Adobe Illustrator.
At Mereton, we’re you’re go-to destination for all things textile printing. We’re known for infusing our designs with personality, and Adobe Illustrator is our trusty go-to for bringing our unique patterns to life. Whether you’re a novice or a seasoned pro, mastering the art of pattern repeating in Adobe Illustrator is the key to unlocking your full creative potential.
Stay tuned for our upcoming series of tutorials, where we’ll be sharing expert insights and step-by-step guides on textile and printing techniques.