A common question we get asked here is: how do I setup a file to print placement cushions? The answer is quite simple really, and can be shown in just 4 steps.
There are a many benefits to printing placement cushions with the main two being that you ensure every cushion is printed identically.
Placement printing gives you full control of where your photo or motif lands on each and every cushion printed.
The tutorial below contains a step by step guide with images included to guide you through the setup process.
This tutorial is for intermediate users with some basic knowledge of Adobe Illustrator. This tutorial showcases cushions that are 45x45cm in size.
Lets get started!
Step 1
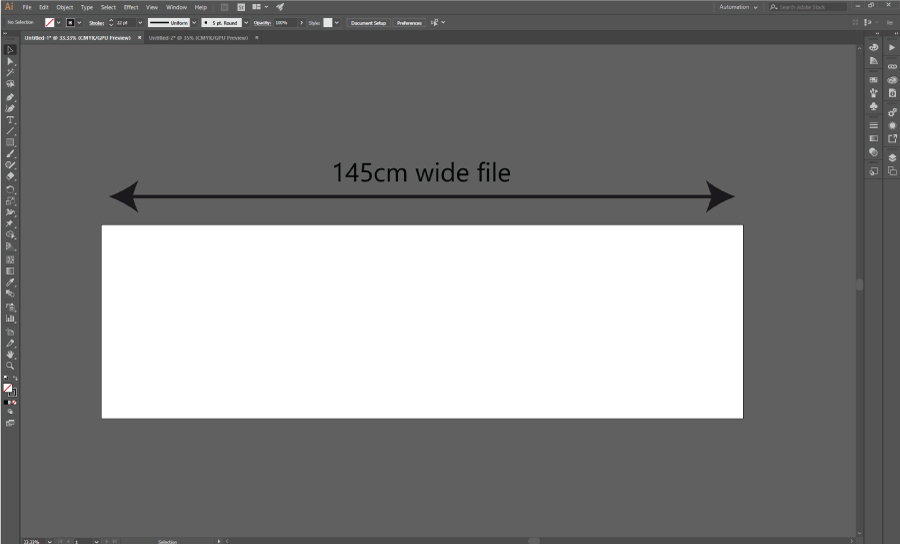
In Illustrator, set up your artboard to be the same width as the printable fabric width.
The printable width of our fabrics is 5cm smaller than the width of the fabric roll. For example: a 150cm wide fabric would have a printable width of 145cm.
The height of the file will vary, depending on your cushions. So for now just make it 50cm for ease and we can adjust later.

Step 2
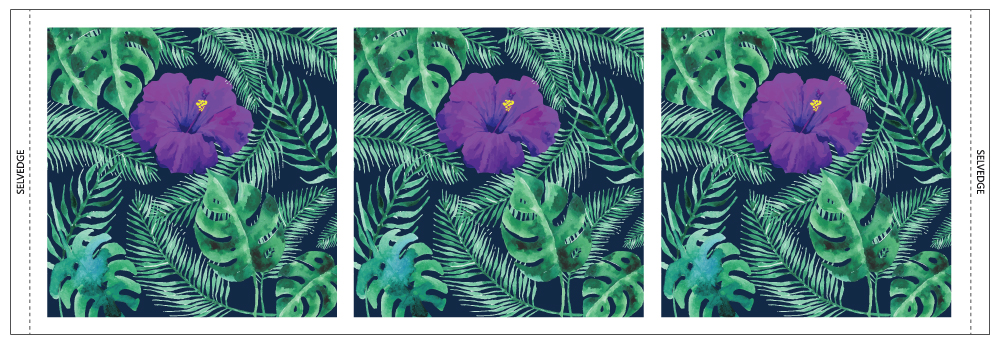
Place your artwork in the file (ensuring it is the correct scale) and fit as many cushion placements across the width of the file as you can. Make sure you do not overlap any.
A 45cm x 45cm cushion can usually fit 3 times across the width, with nice gaps for cutting.

Step 3
Duplicate your cushion placements down the file the desired amount. You can usually get 6 panels (3 cushions) from approximately 1m.
We recommend setting your file up this way, as it allows you to multiply easily in equal amounts.
When printing, if you need 60 cushion (30 cushions) placements, you can make one file with 6 cushion placements (3 cushions) and we can duplicate it 10 times.
Please refrain from making your file’s height too large, anything under 3 metres in height is ideal.

Step 4
Crop excessive white space from bottom or top of your file to avoid paper or fabric wastage, then send it over to us for printing!
You’re done!
Save as an editable PDF in Compatibility Mode: Acrobat 4 (PDF 1.3)and you’re ready to go!


